
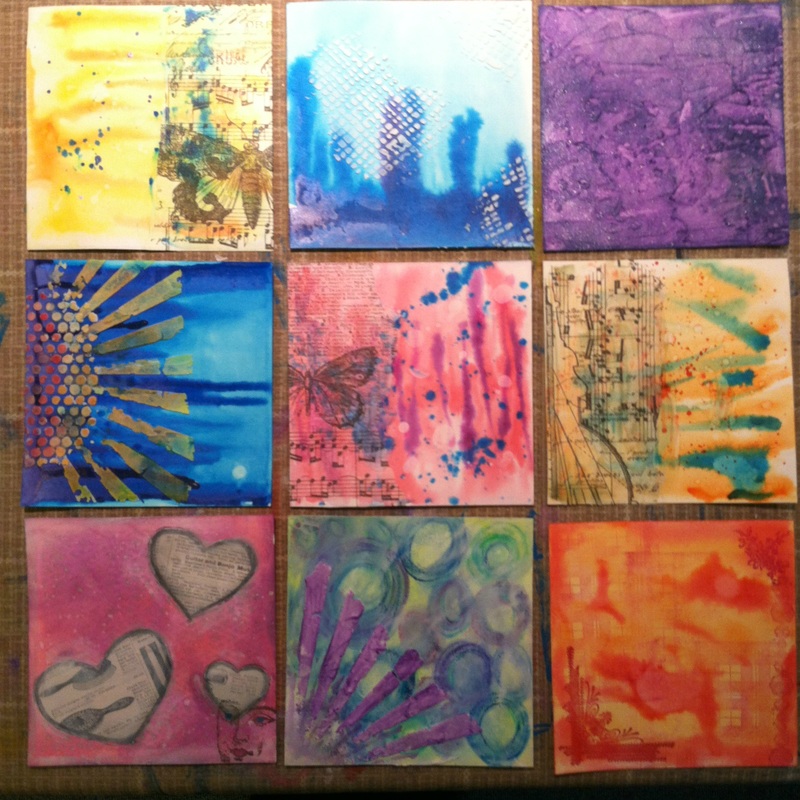
Ethan needed a book to keep his new art journal pages in and I wanted it to be special so that he would want to do more pages. We decided that he would make his own book and he decided on mustaches for his theme.
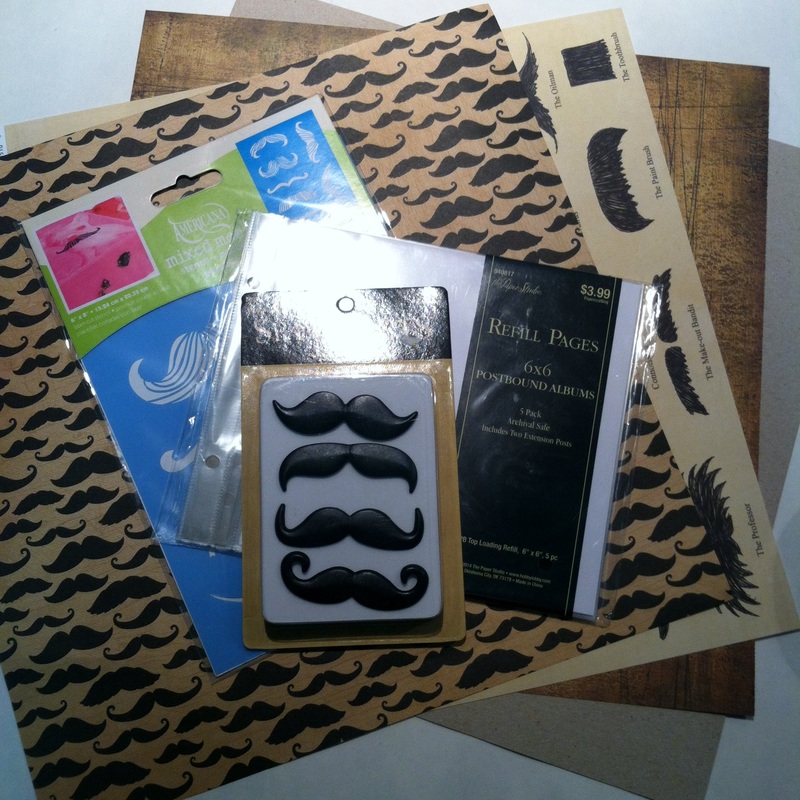
Here are the supplies Ethan used.
assorted sheets of 12x12 scrapbook paper
chipboard ( you can purchase this at most art and craft stores or use some of an old notebook or even a cereal box would work)
6x6 sheet protectors or whatever size your pages are
Some awesome mustache brads found in the clearance section at Hobby Lobby
stencil
molding paste
decorative tape from Tim Holtz
Mod Podge
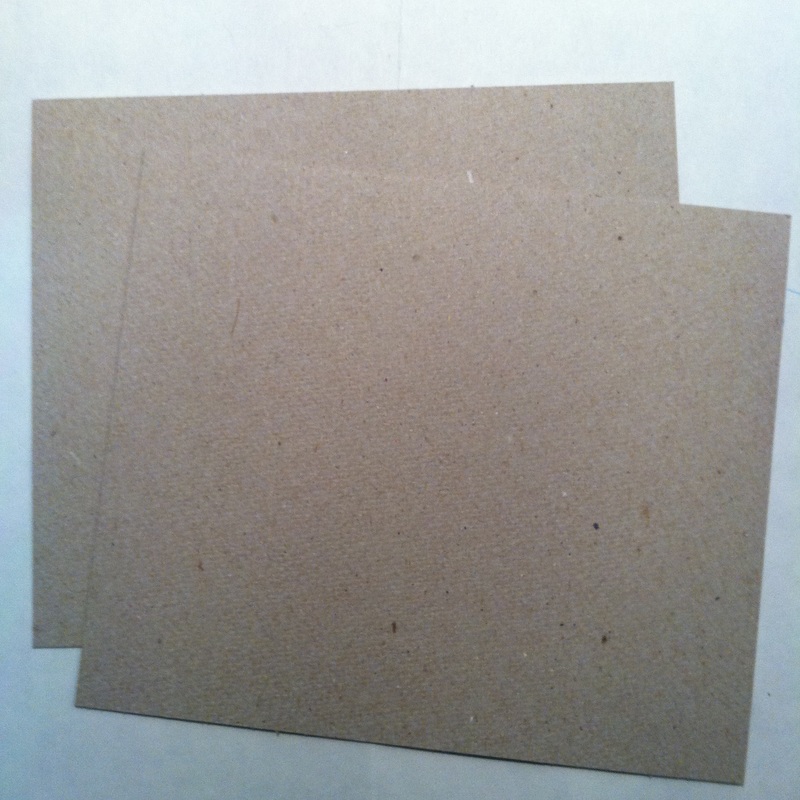
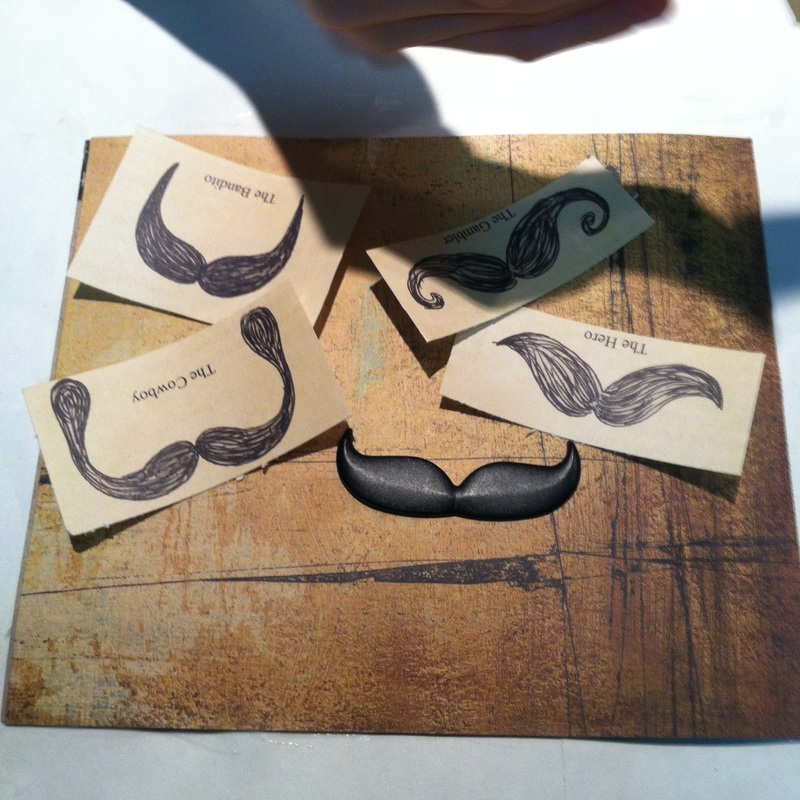
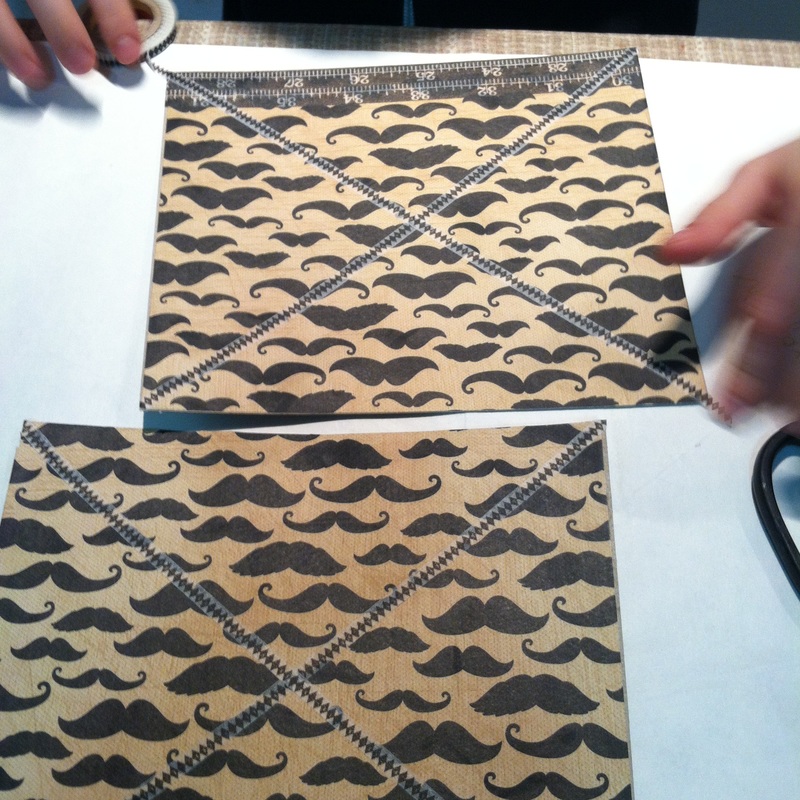
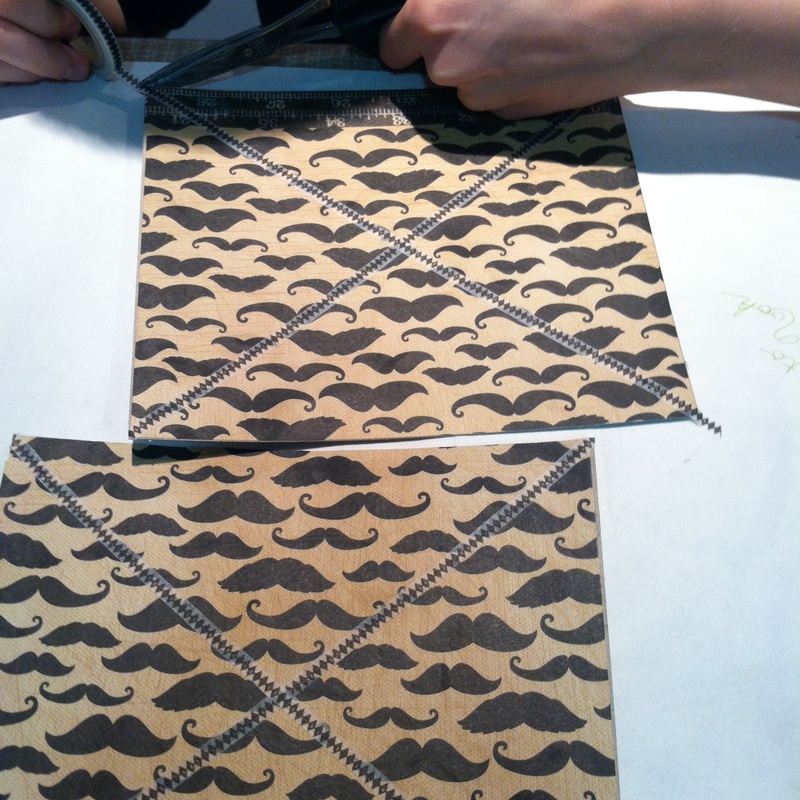
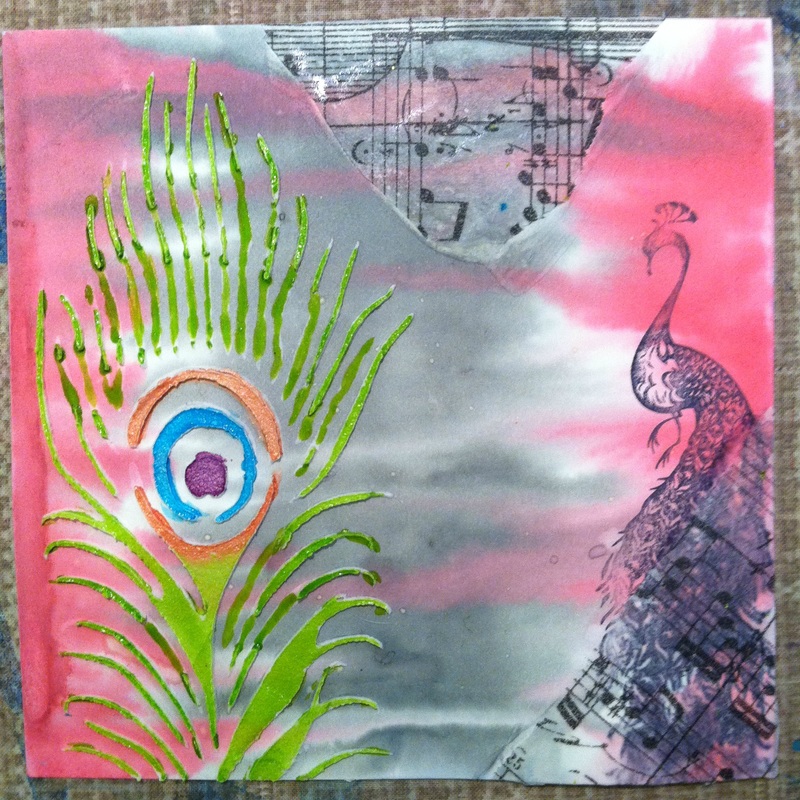
Now Ethan cut out the chipboard just a tiny bit larger than the page protectors. Then he cut out his background paper and then some parts of another sheet and placed them on the chipboard to get an idea for his layout on the cover. After he figured out how he wanted it to look he glued it all down with some matte Mod Podge for paper. I like this one because it doesn't dry tacky.

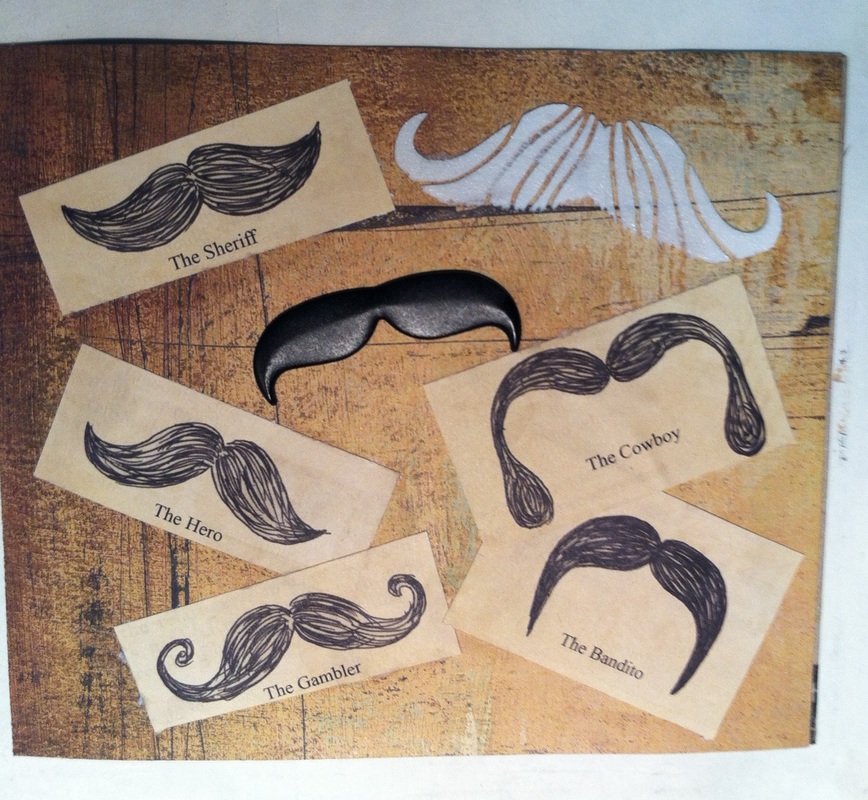
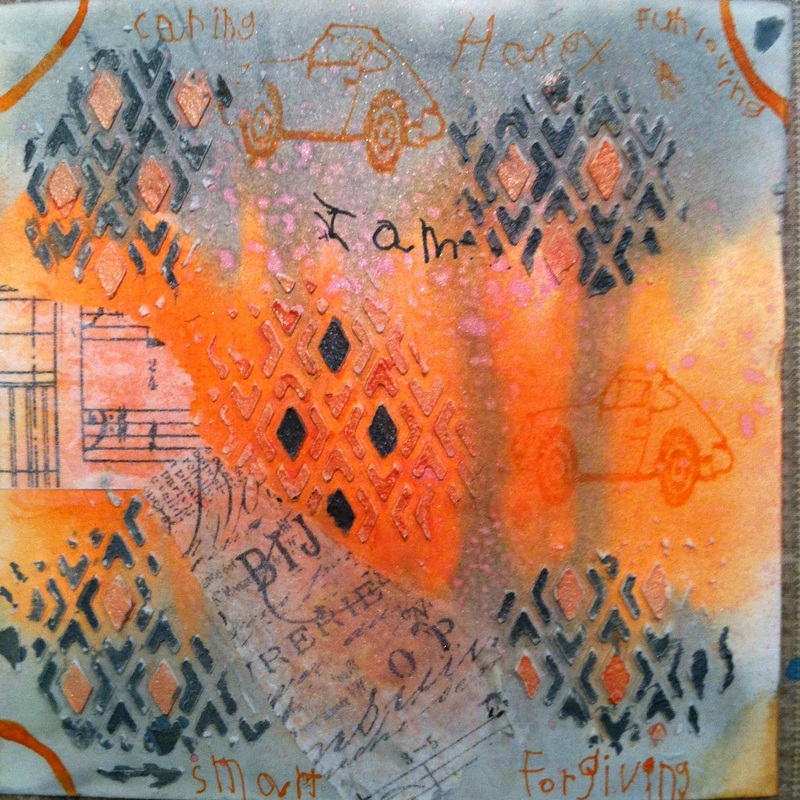
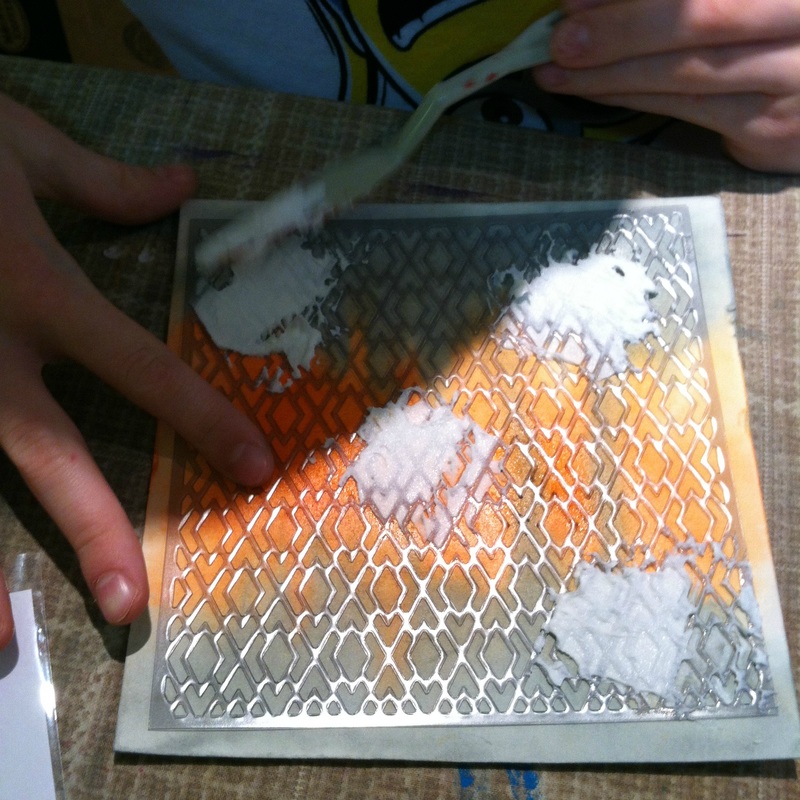
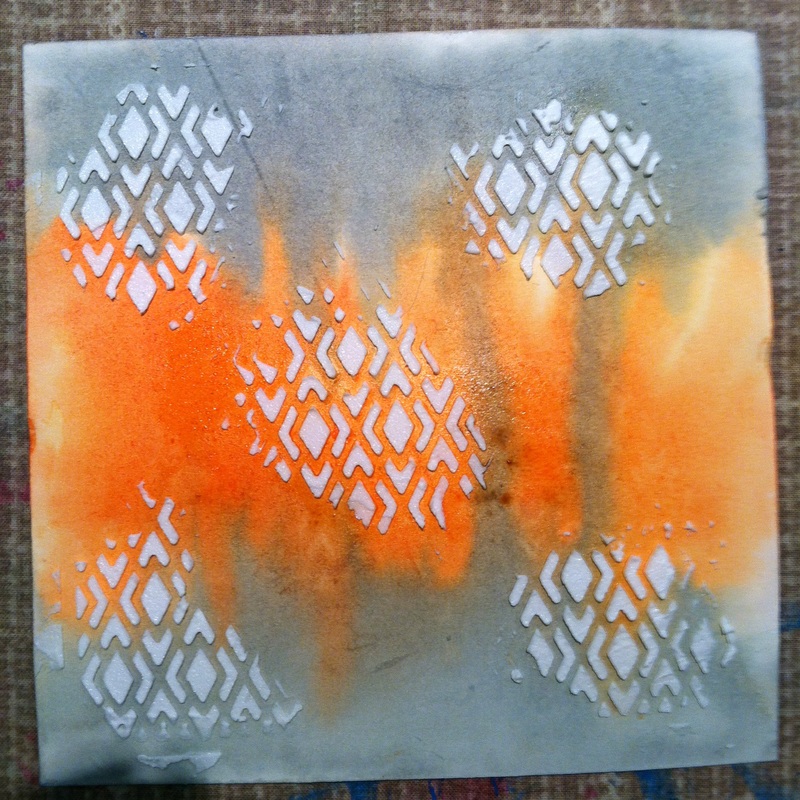
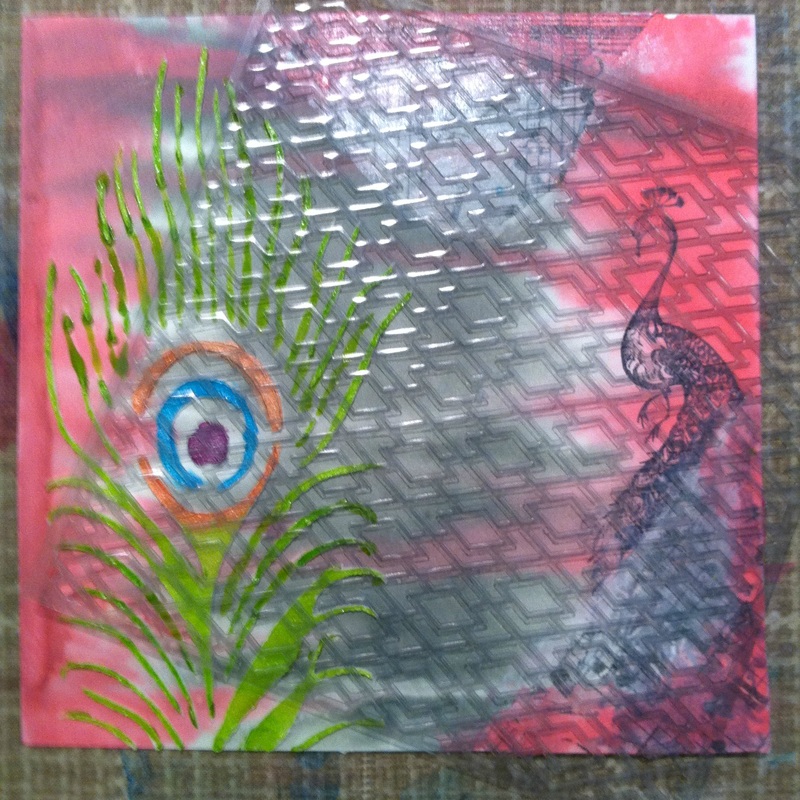
Now for the wonderful Molding Paste. Ethan used an art spatula to apply the paste thru the stencil and then carefully lifted the stencil. Once he did that he was able to apply the brad. We didn't want it to go thru the cover because he was going to cover the inside also so I broke the prongs off the back by bending them back and forth and then Ethan glued it on using E600 glue. This is a great glue for anything dimensional and non porous. Works great for jewelry too.
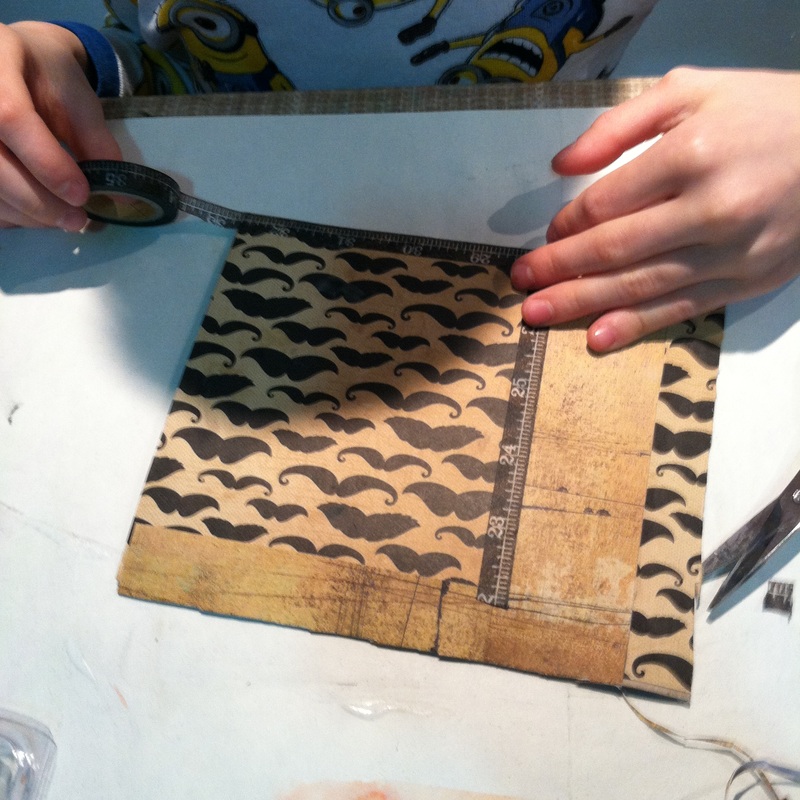
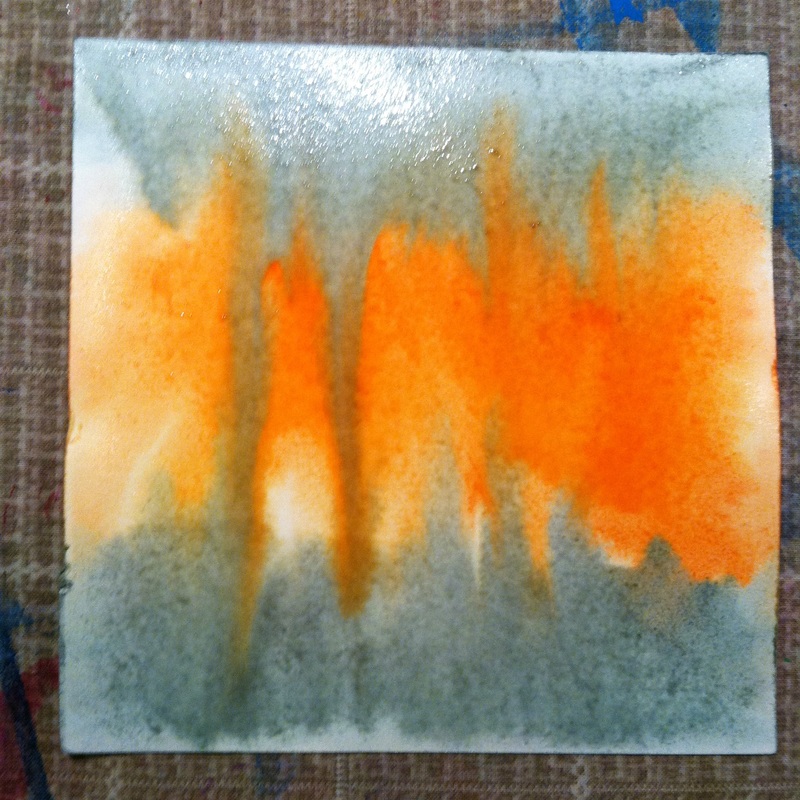
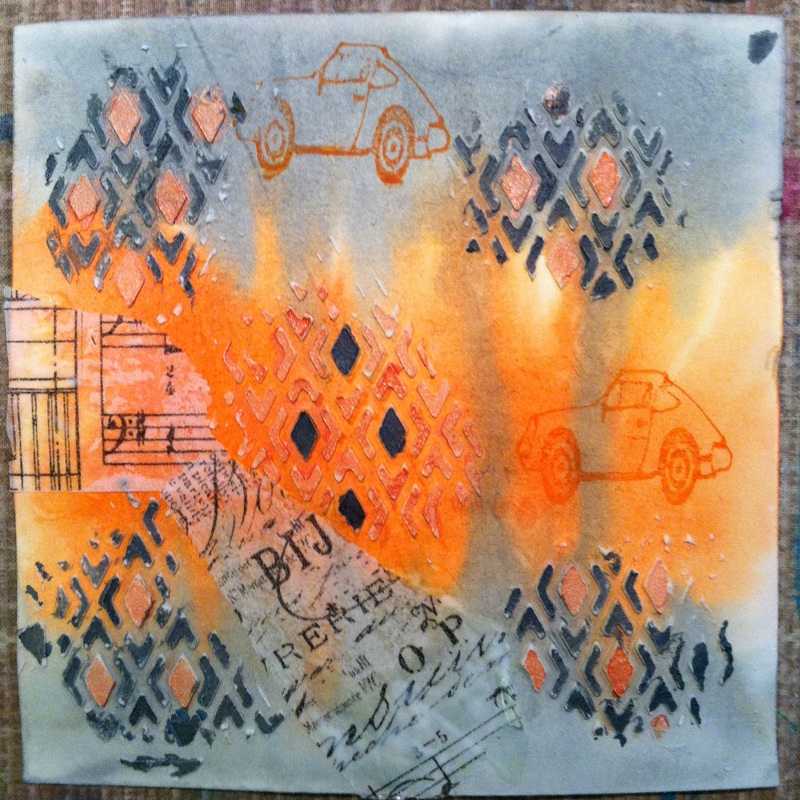
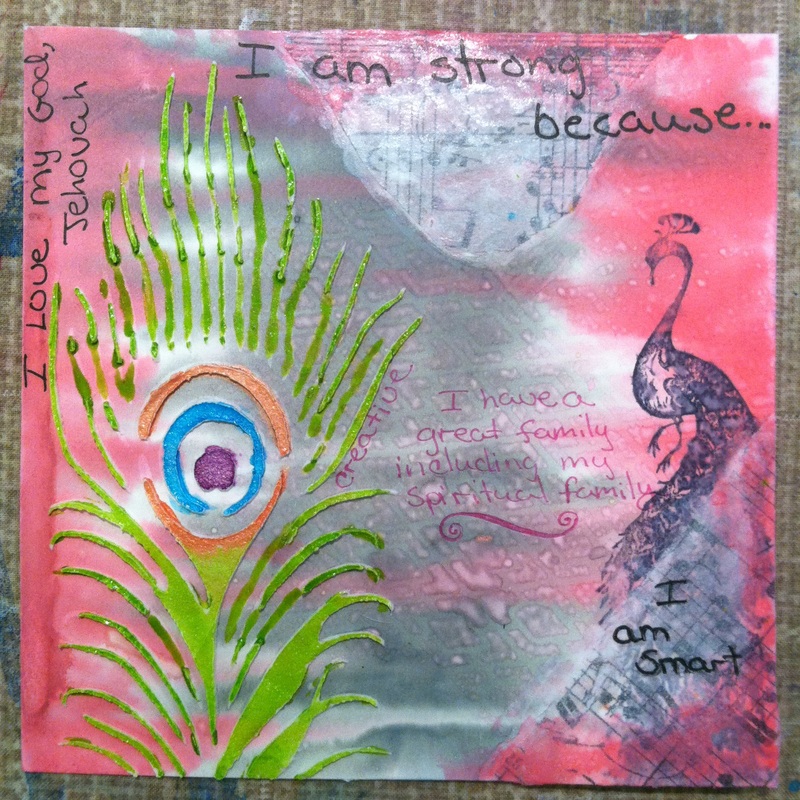
Here you see Ethan covering the inside of the cover and the outside of the back. He used more of his scrapbook paper he had picked out and the tape. Again gluing it down with the Mod Podge. After that Ethan finished the front cover by painting the now dry molding paste with some watercolors. Next we placed a page protector on top to mark the holes and then punched them out with a hole punch.
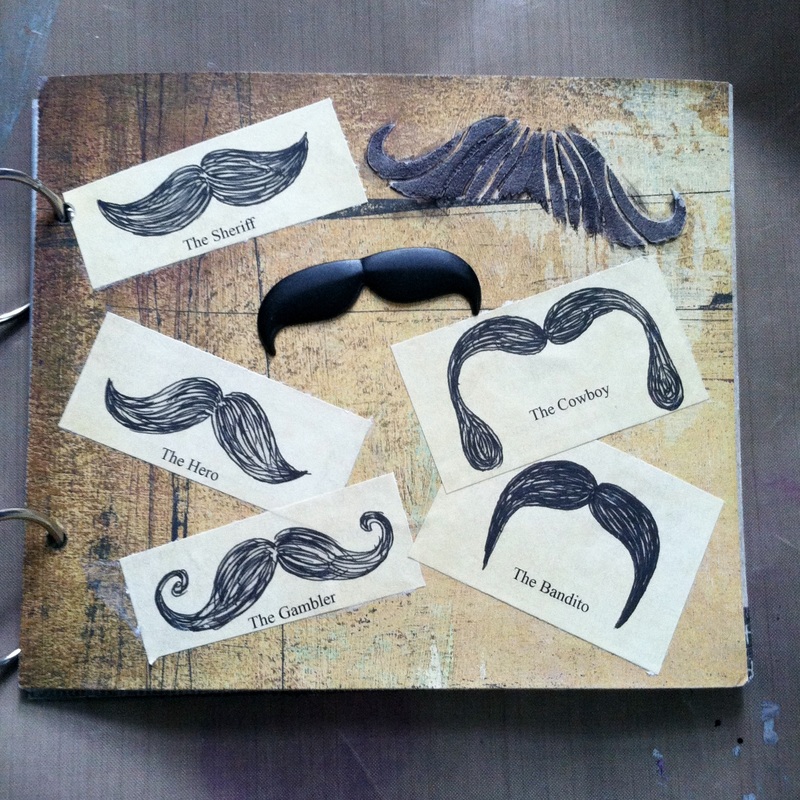
Here it is all assembled. We used some binder rings that I already had but we will be getting some smaller ones. He could just keep adding more page protectors if he wants to but for now I don't want it to seem like too big of a project for him so we will just let it grow as time goes on. Or he can make a new book when he wants a new design. Ethan said he enjoyed making his book and I hope that it leads to more art journaling for him and I soon.
So now it's your turn. Have fun making your own book and helping your children make theirs. I would love to see pictures of what you make. You can email them to me at [email protected]
So now it's your turn. Have fun making your own book and helping your children make theirs. I would love to see pictures of what you make. You can email them to me at [email protected]

 RSS Feed
