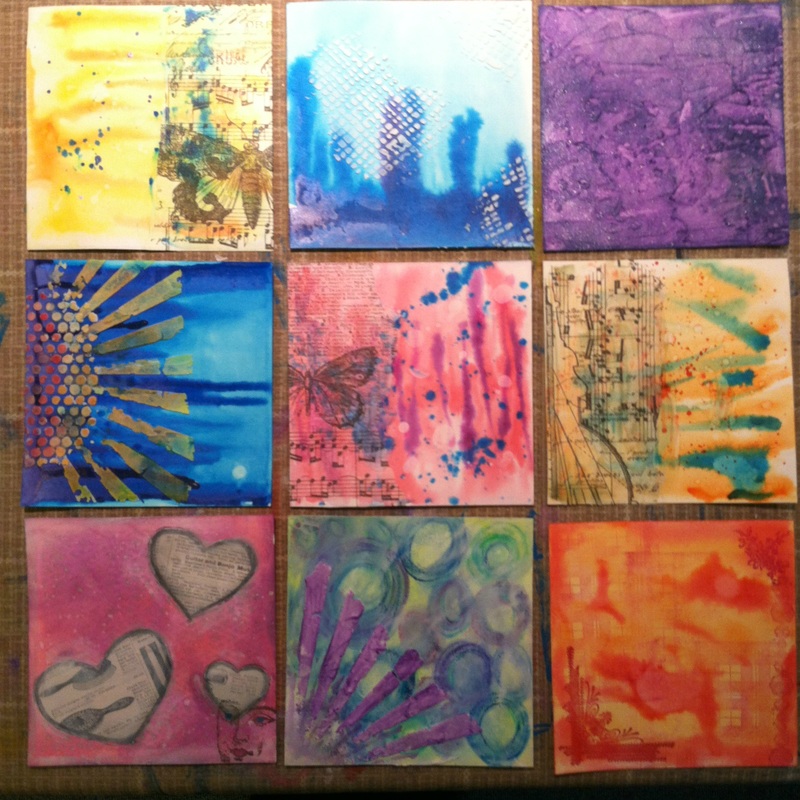
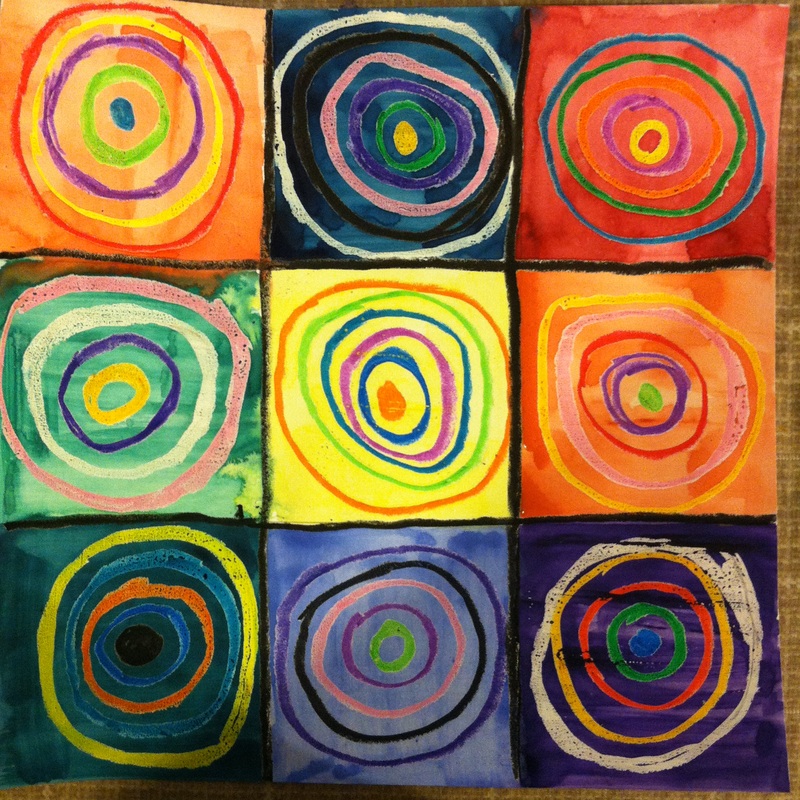
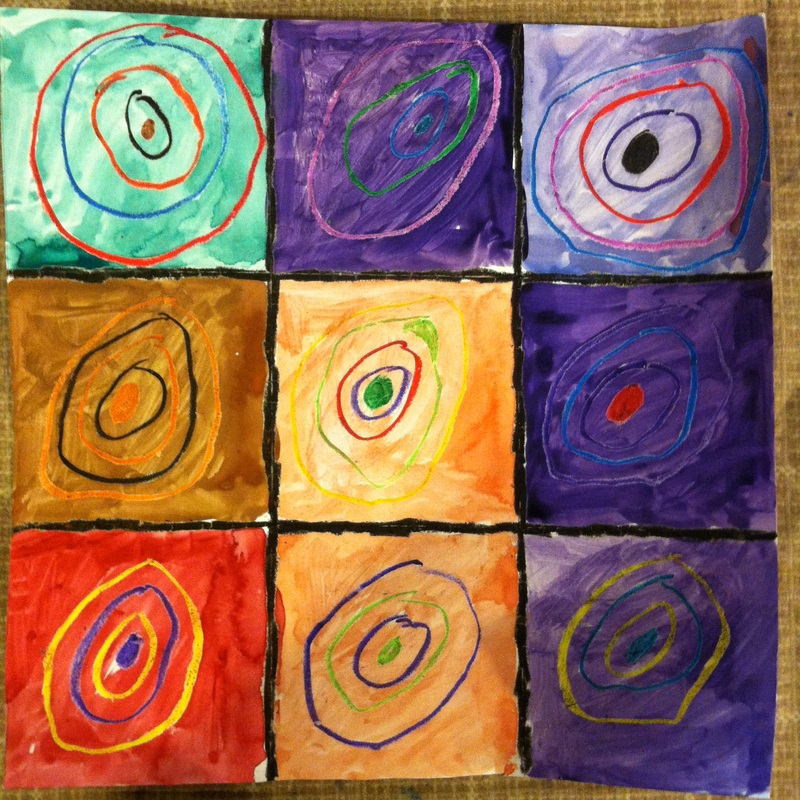
I have been wanting to introduce Ethan to art journaling for some time now. Well last night was the night and it was so much fun doing it with him. He is not much for writing and I am hoping this will get him writing a little more. Above are a few examples of some pages that we started and are all ready for some journaling. He really did a great job and at one point he told me how he really had to pay attention to the detail. I was so happy to hear him say this because he is a very active 10 year old and doesn't take his time very much.
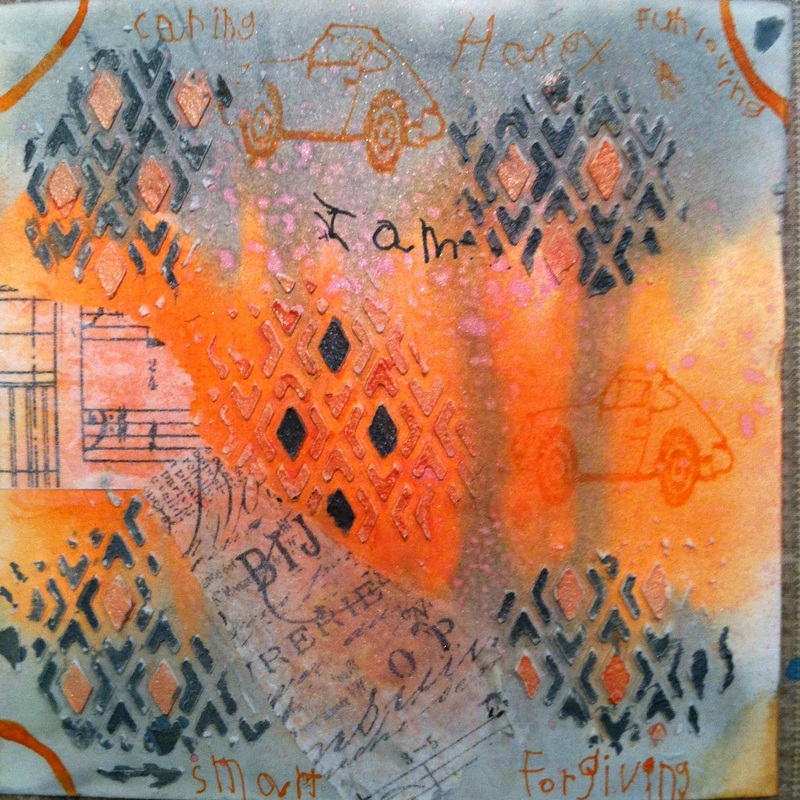
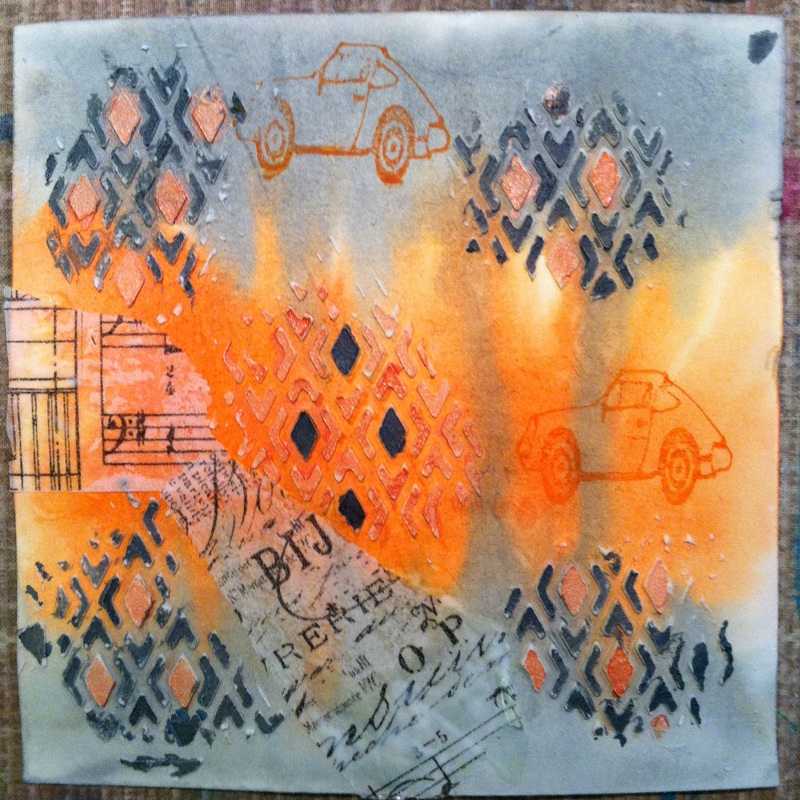
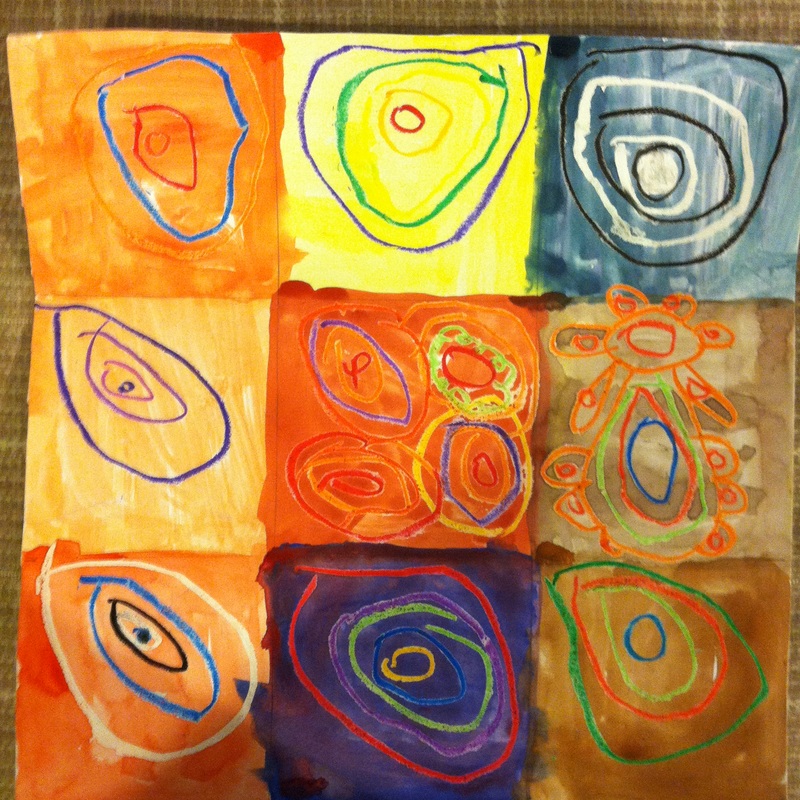
Here is the page Ethan finished. I just love it! Not much writing but it is a start and he said he really enjoyed this project so we will be doing this again real soon. His favorite color is orange. Can you tell?
Here are the supplies you need to complete this project.
Watercolor paper cut into 6x6 squares or other size you prefer
Watercolors, we used Crayola brand. No need for expensive ones for this project.
Molding paste
Small craft spatula
Tissue paper, we used some from Tim Holtz
Stencil, Ethan used one from Heidi Swapp and I don't remember what mine is
Rubber stamp of choice
Rubber stamp ink
Matte Fluid Medium or Mod Podge will work also
Journaling pens
Water color brushes. we used a large flat brush and a med flat brush and a small round brush
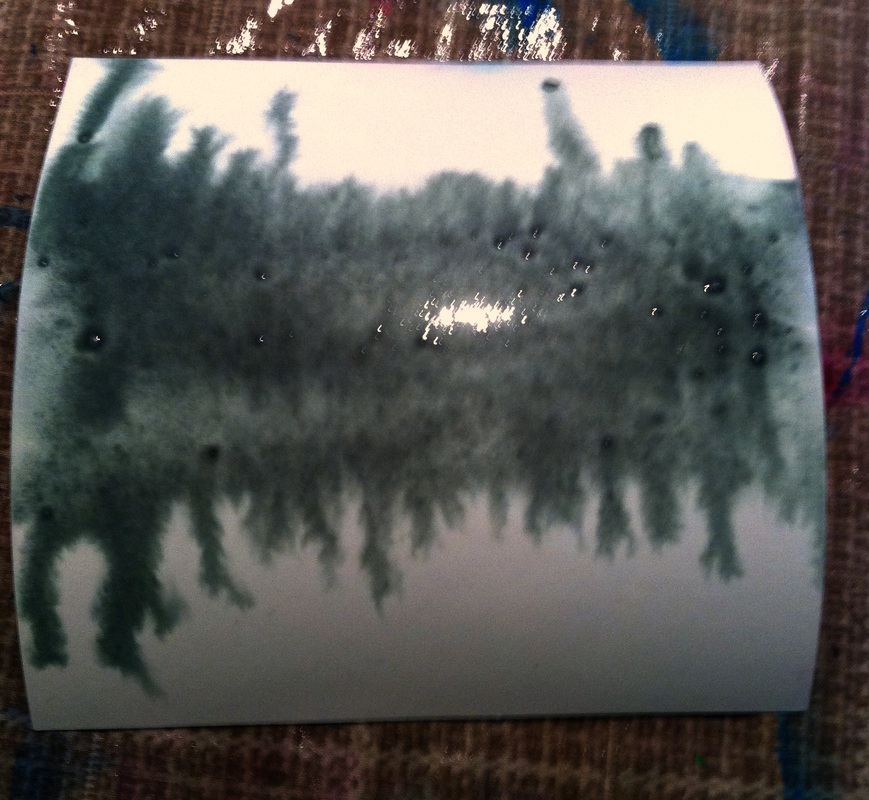
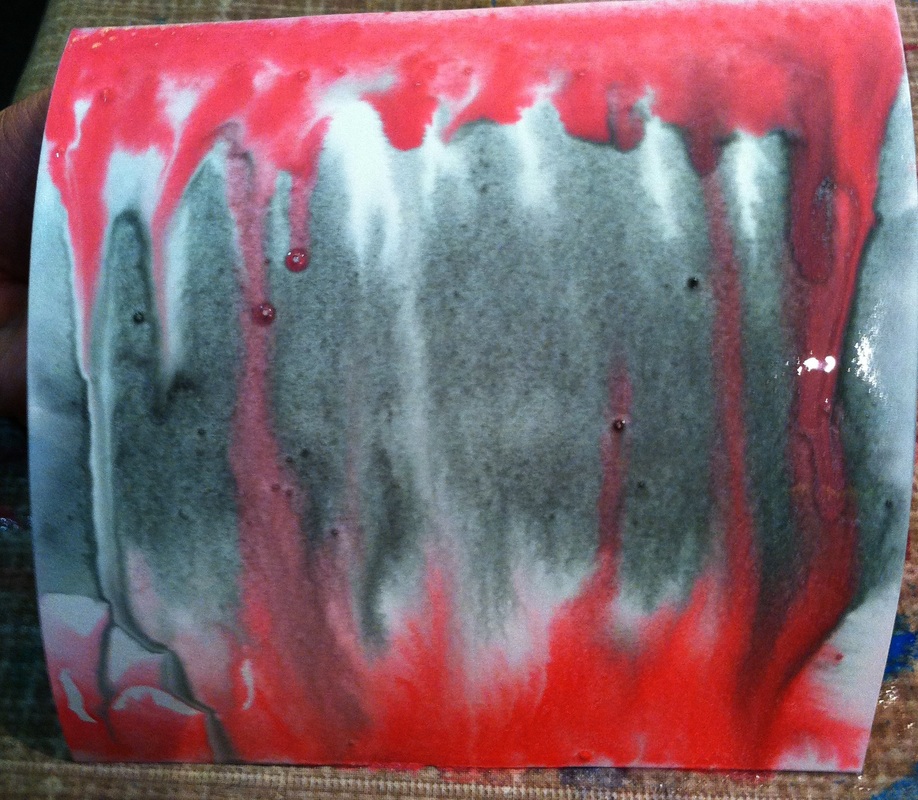
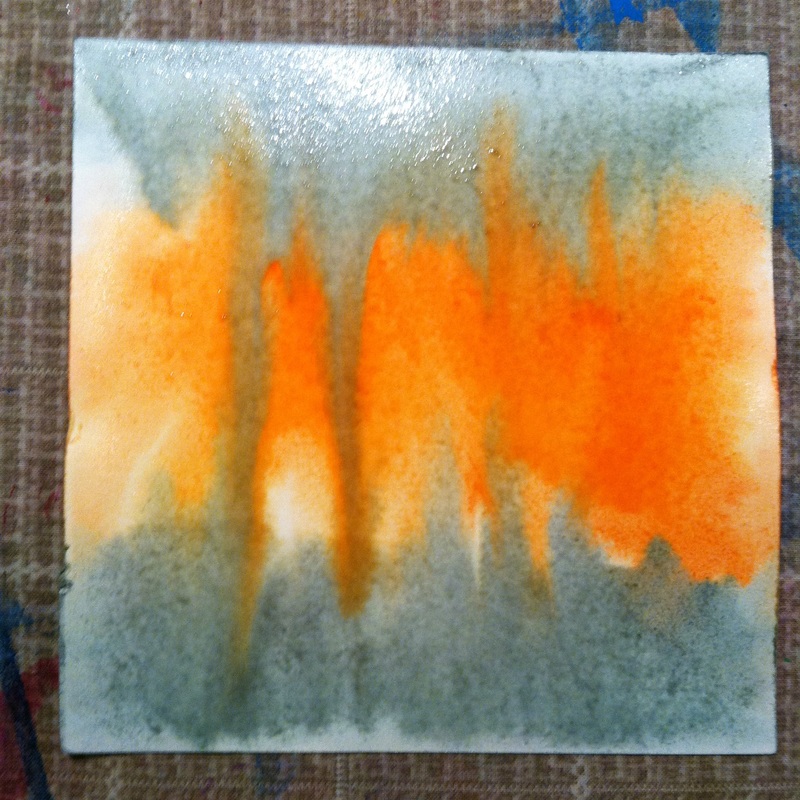
First thing you need to get your paper wet with your large flat brush and I mean really wet. It will curve up but that is ok for this we want it to. Next Use your med flat brush and apply watercolor to the middle of your page. Be generous and let it run down towards the outside edge. You can pick it up and tip it to help it along if you want to. Next pick your second color and paint a strip on one edge and pick up your paper and let it run towards the middle and then do the same for the other side. Now use either an embossing tool or a hair dryer to heat set it.
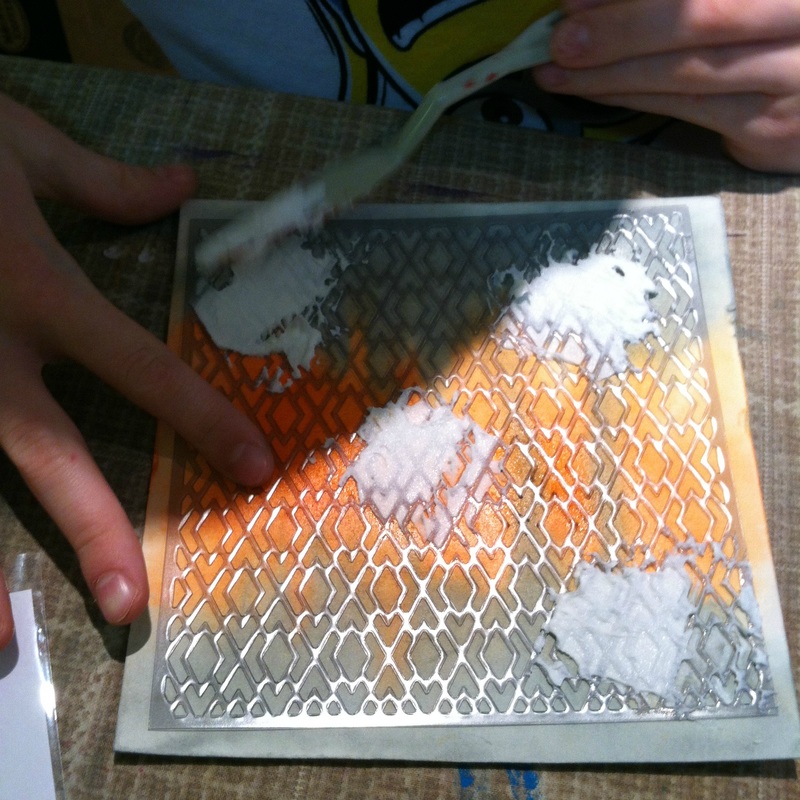
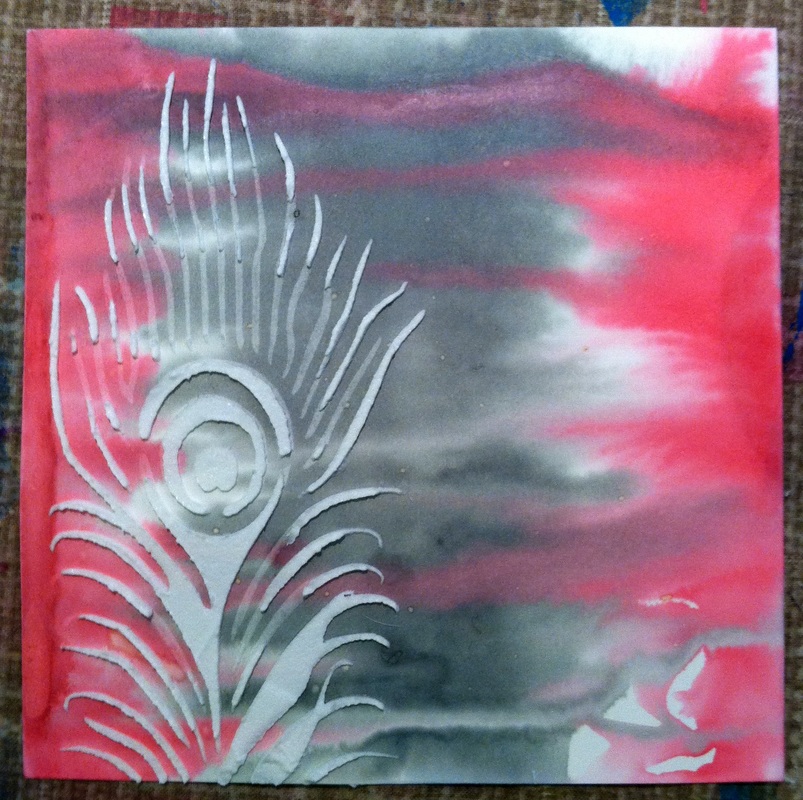
Next take your stencil and use your paint spatula to apply the molding paste through the stencil. You can just use part of the stencil like you can see Ethan doing or if it is a smaller stencil you can use the whole thing. Also If you have one with small spaces make sure you use the spatula to push the paste in the stencil a bit and use it a little thick. I didn't do this for this one and you can see that when I lifted the stencil off some of my feather lifted off the paper.
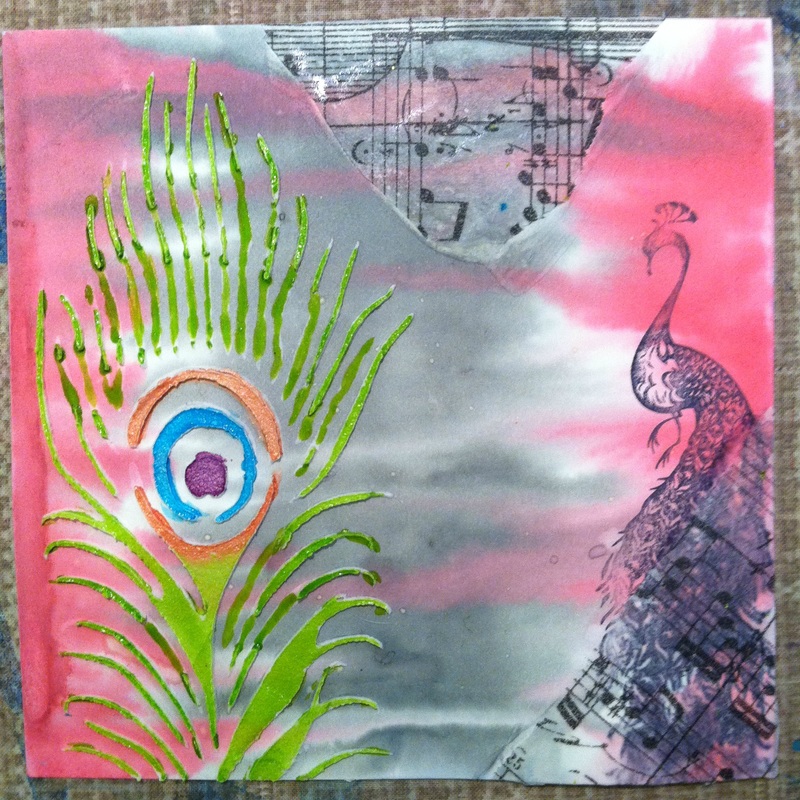
Now Stamp your stamp onto your page. I used mine just once but Ethan did his more. Both is good. This is your journal so do what makes you happy. After we heat set our stamped images we tore some pieces of tissue paper and used the matte fluid medium to apply it with a coat on top of the tissue paper also.
Once that was dry we used some white watercolors on top of the tissue paper to soften the look a bit. I also added some pink and blended it with my finger. Also we used some Watercolors and twinkling h2os to color the now dry molding paste that we put on with the stencil. This is when Ethan told me he had to take his time and pay attention to detail. I seized the opportunity to talk about other areas we need to pay attention to detail.
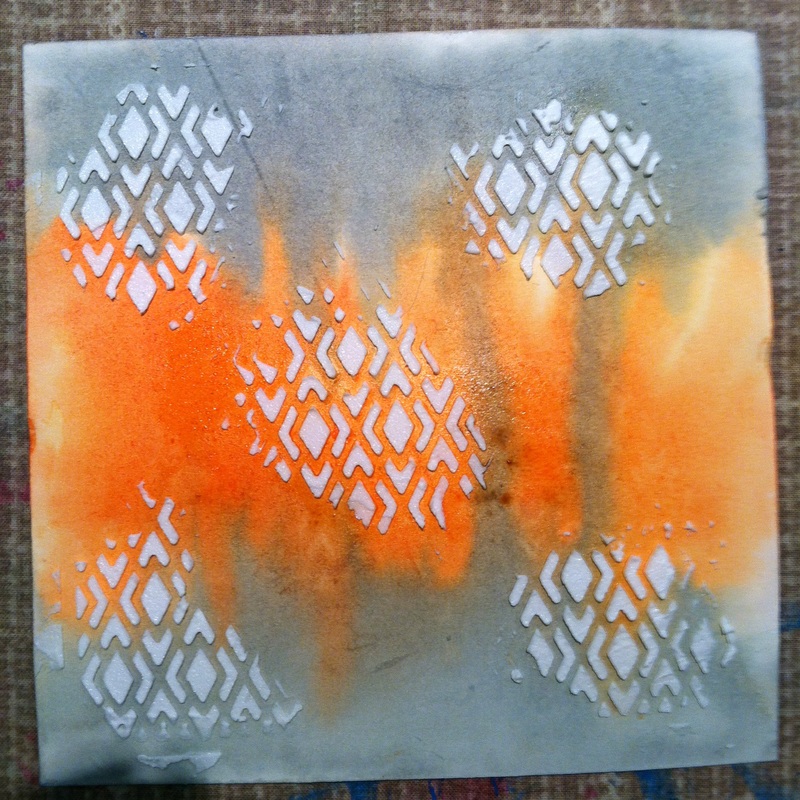
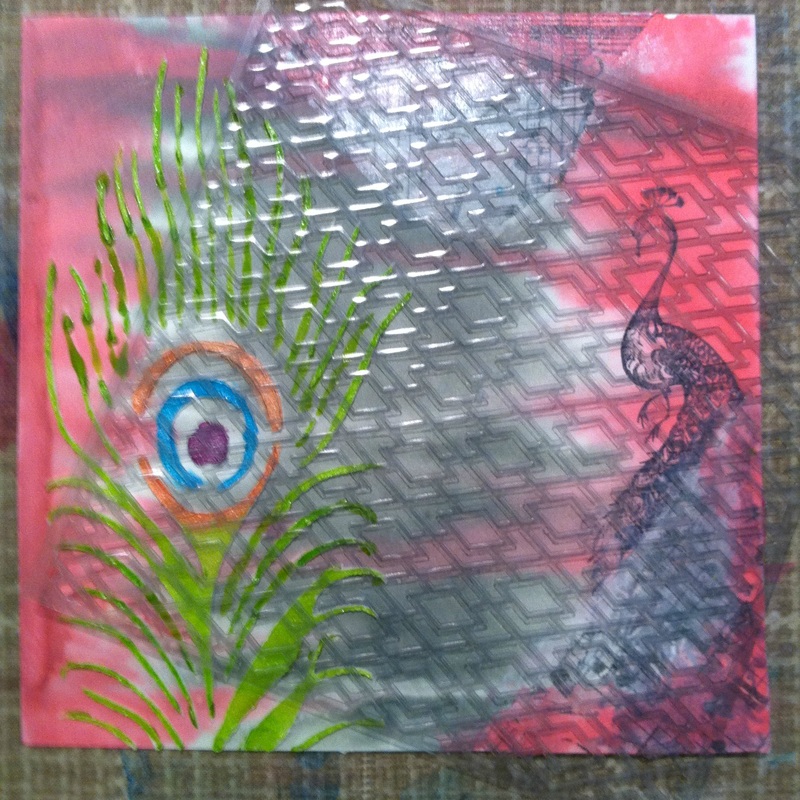
Next we placed a stencil on top of the whole thing and sprayed it with some watered down Gelatos. You can also use watered down watercolor or acrylics.
Once that was dry we used some white watercolors on top of the tissue paper to soften the look a bit. I also added some pink and blended it with my finger. Also we used some Watercolors and twinkling h2os to color the now dry molding paste that we put on with the stencil. This is when Ethan told me he had to take his time and pay attention to detail. I seized the opportunity to talk about other areas we need to pay attention to detail.
Next we placed a stencil on top of the whole thing and sprayed it with some watered down Gelatos. You can also use watered down watercolor or acrylics.
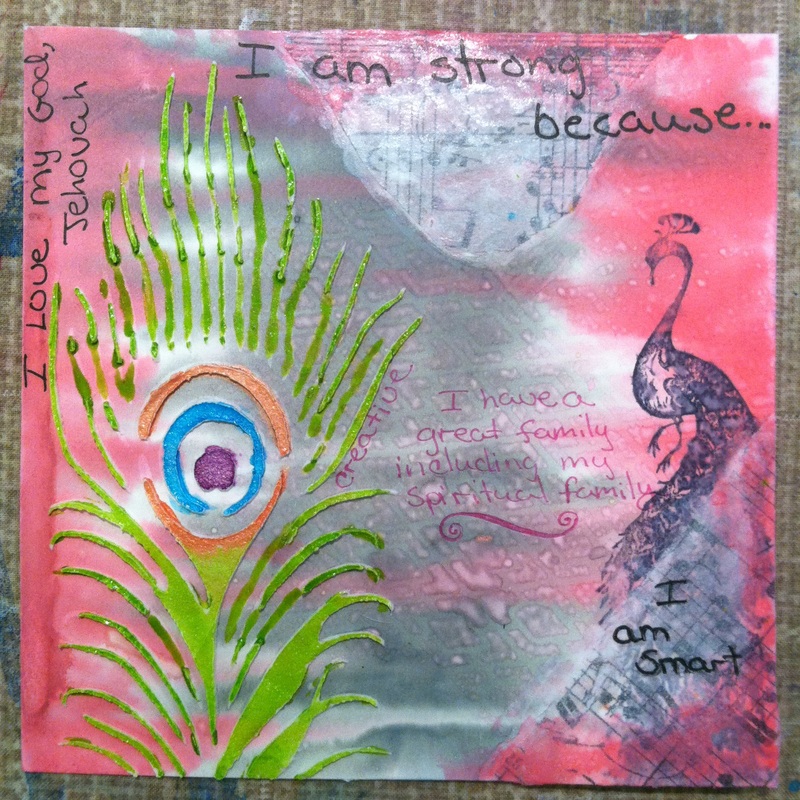

Here are our pages with some journaling on them. More was added after these pictures but this gives you an idea. We used this page to write what we feel are our strengths. You could also use it to reinforce any science lesson or to recap a book you read recently. Things that make you happy would be good also. The list is really endless.
I hope you enjoy this project and make it your own. I would love you see what your family creates. Please email me at [email protected] to share your pictures with me or you can share them on my facebook page by clicking the link above.
I hope you enjoy this project and make it your own. I would love you see what your family creates. Please email me at [email protected] to share your pictures with me or you can share them on my facebook page by clicking the link above.
 RSS Feed
