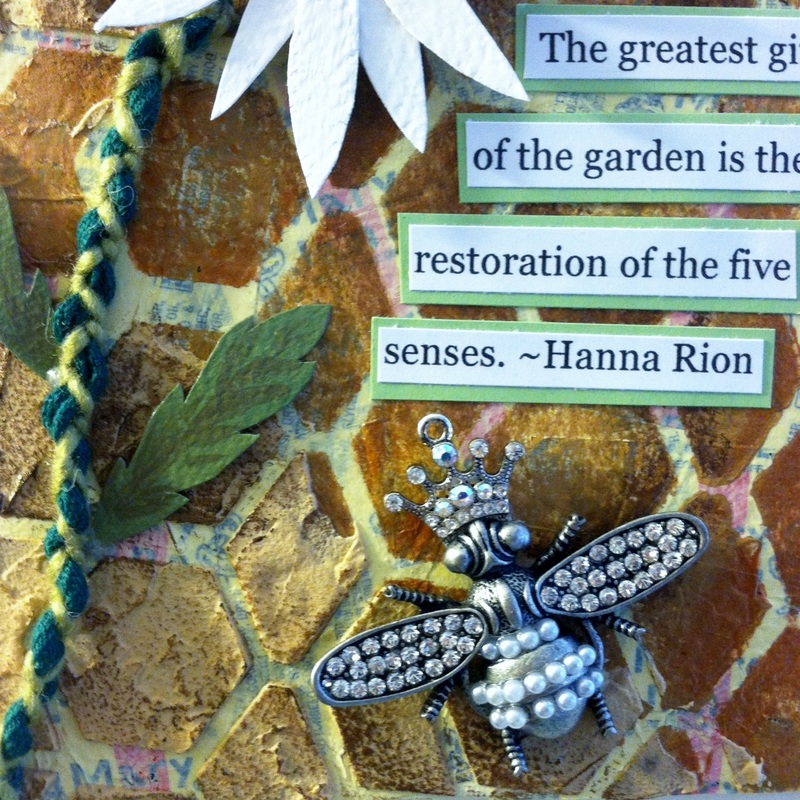
Yup you read that right. This post is a little late. Better late than never right? I was wanting to do something a bit green and was having a bit of a writers block so to speak. I have a box of business cards that I can't use anymore and a few mint tins that I have been hanging onto until I have just the right inspirational moment and come up with a good way to reuse them. So last Tuesday I wanted to do something green and all I could think about was a project I was anxiously wanting to start. I found a super cute silver toned bumble bee pendant complete with rhinestone covered wings and a crown in the clearance section at the local Michaels. It was perfect and I knew just what I was going to do with it.
So I got out a few supplies and set out to get started. As I sat there looking at various papers and paints eating my Mary Jane candies it struck me. I can use all these wrappers for the background and then paint over them. Yay! I found a way to reuse all of the candy wrappers I end up with.
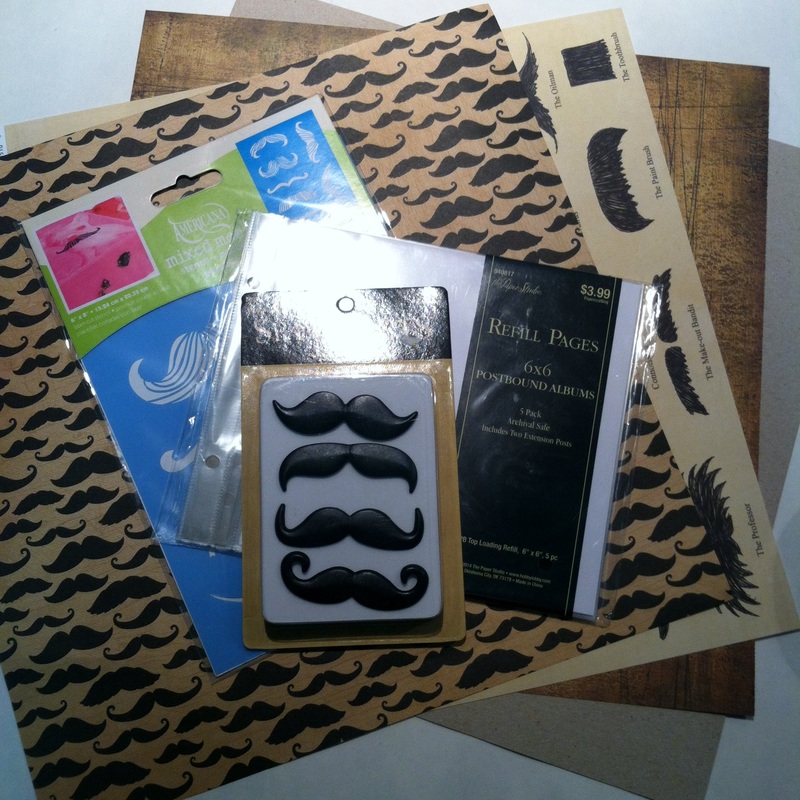
Here is a basic list of supplies.
5x7 canvas board
candy wrappers
acrylic paint (various colors)
Molding paste
Heavy Gel Medium
micro glass beads
chipboard
stencil
Matte gel fluid medium
Modge Podge Glossy for paper
White and Green card stock
E6ooo glue
So I got out a few supplies and set out to get started. As I sat there looking at various papers and paints eating my Mary Jane candies it struck me. I can use all these wrappers for the background and then paint over them. Yay! I found a way to reuse all of the candy wrappers I end up with.
Here is a basic list of supplies.
5x7 canvas board
candy wrappers
acrylic paint (various colors)
Molding paste
Heavy Gel Medium
micro glass beads
chipboard
stencil
Matte gel fluid medium
Modge Podge Glossy for paper
White and Green card stock
E6ooo glue

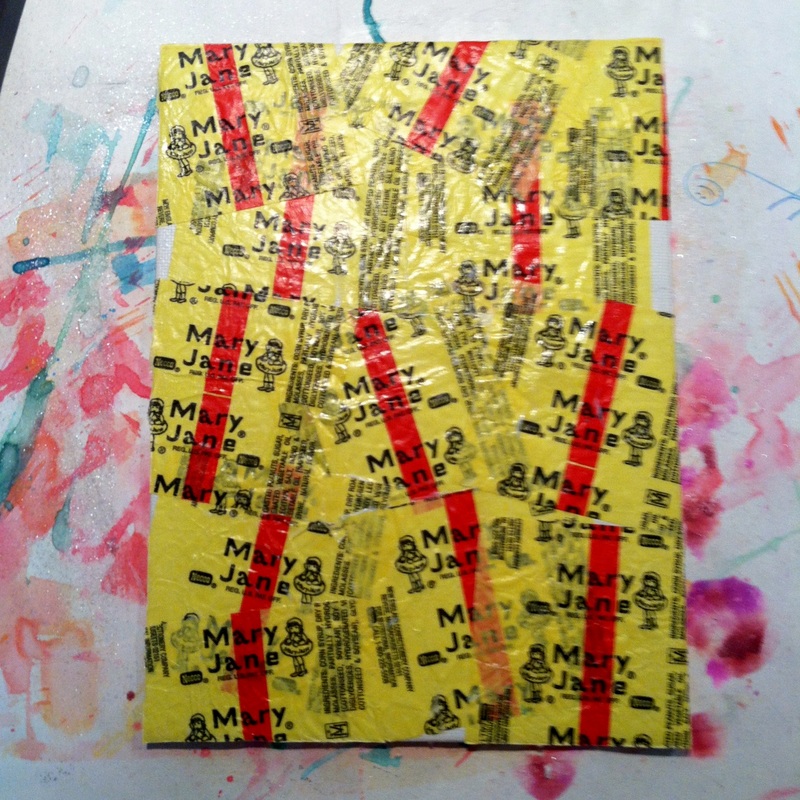

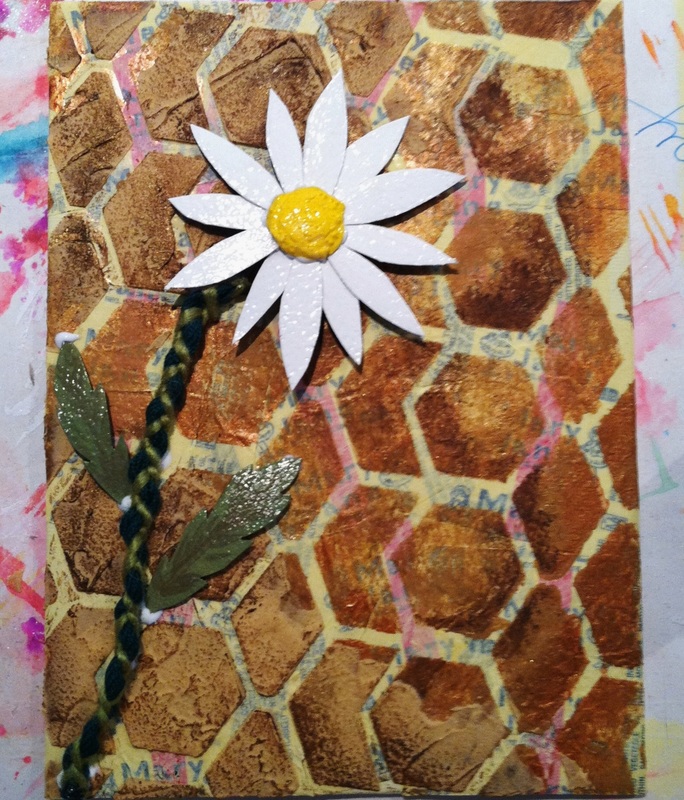
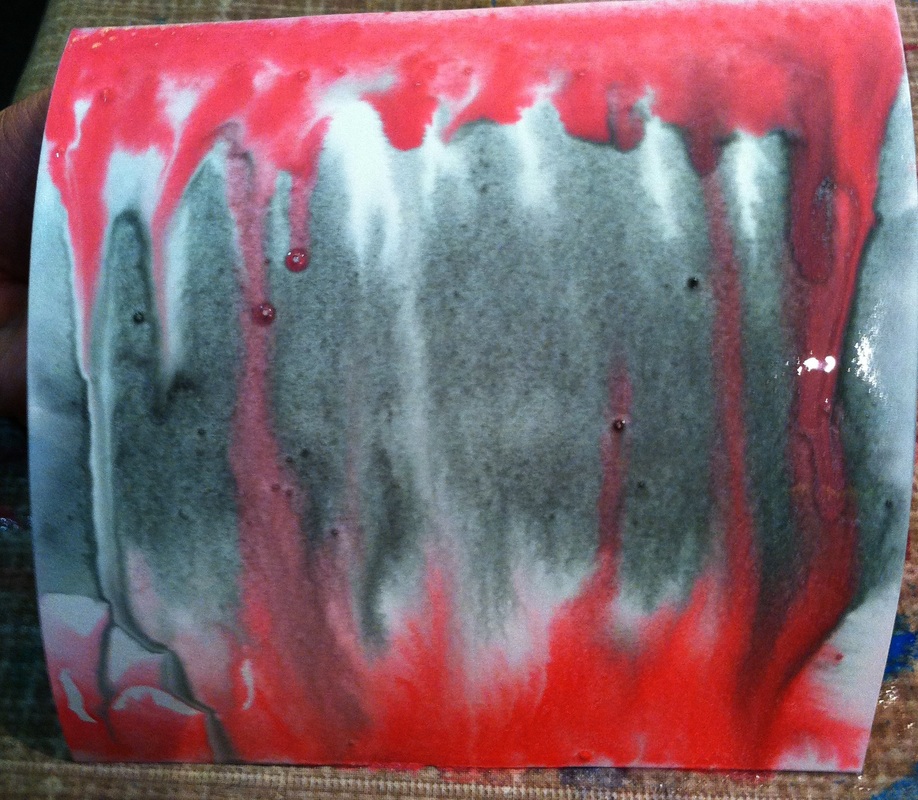
To start I used the fluid gel medium to adhere the candy wrappers to my canvas board. I dried it using my embossing heat tool and then applied a coat of the gel medium to the top and then dried it again. Next I turned it over and used an exact o knife to remove the excess wrappers from the sides. Next I mixed some cream colored acrylic craft paint with some light yellow and put on a couple coats of that, drying in between each coat.
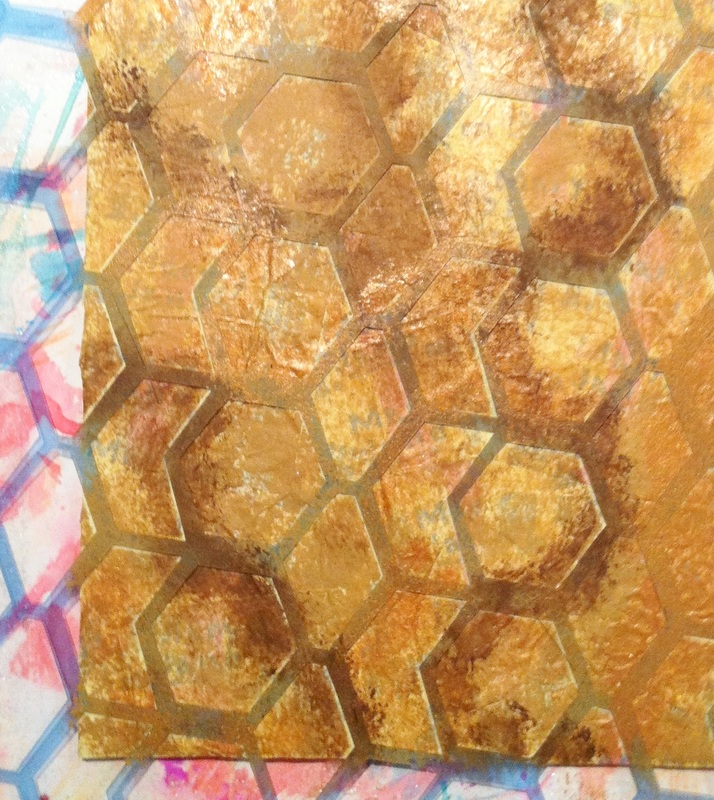
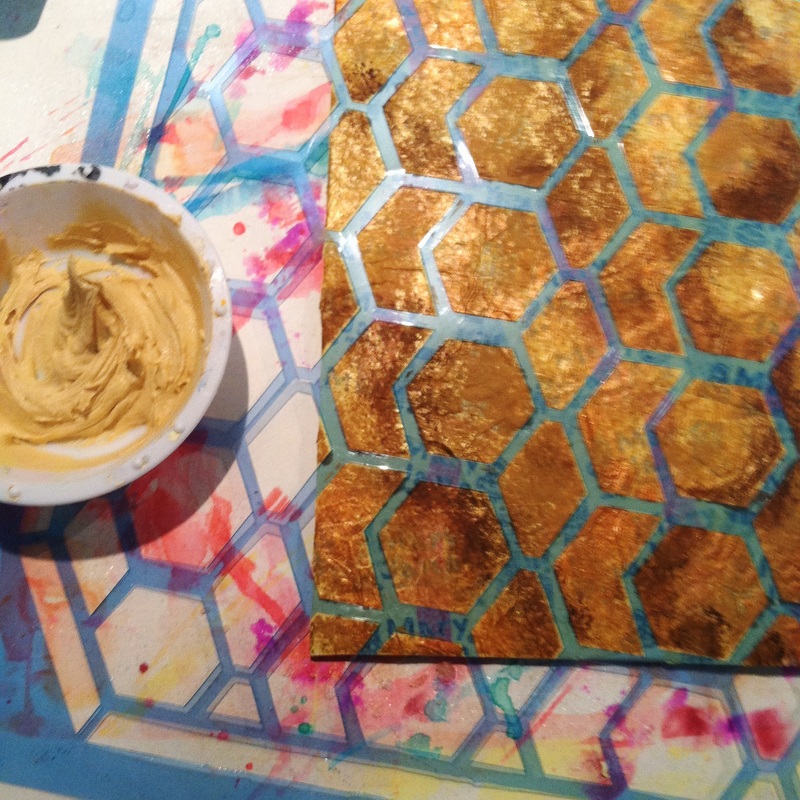
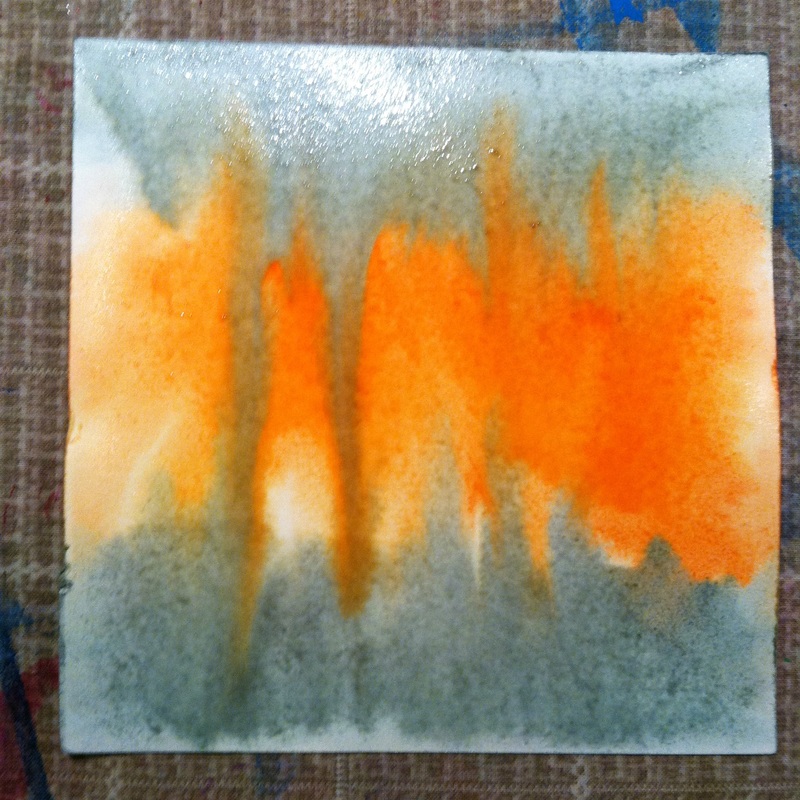
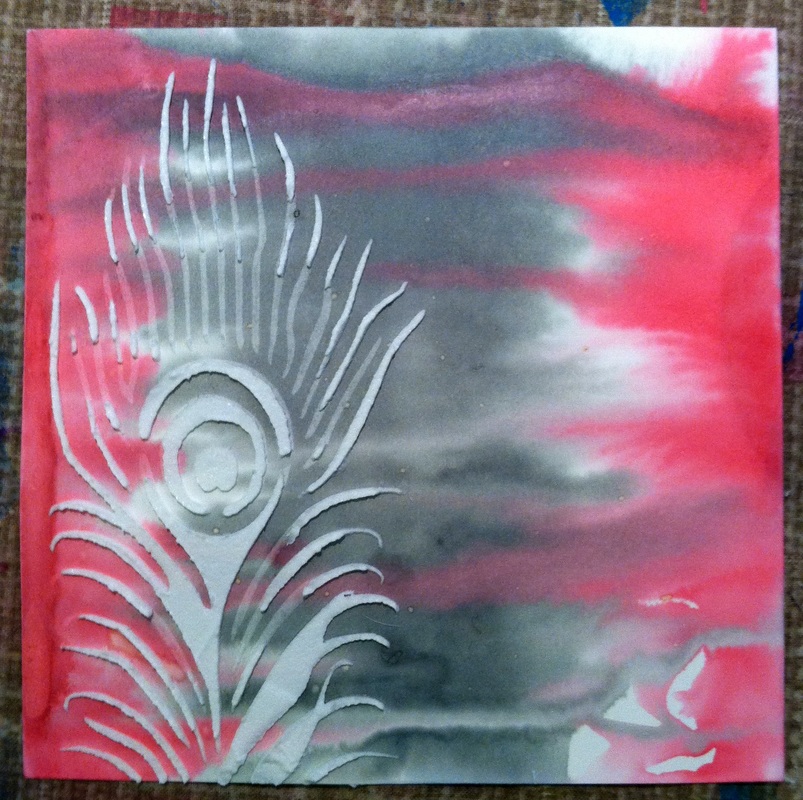
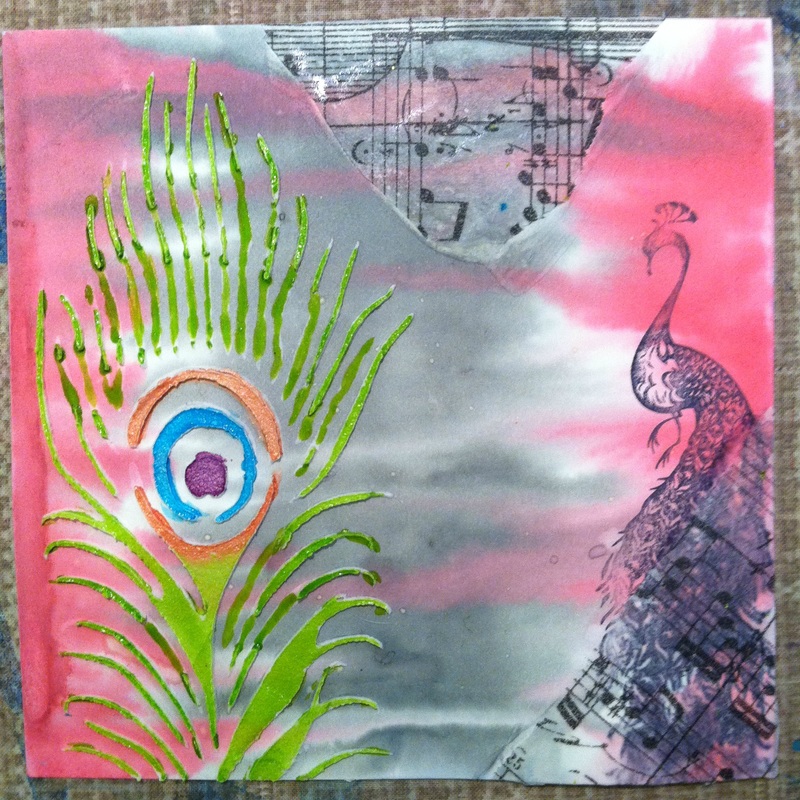
Now I laid my stencil on top and began to stencil the entire canvas. I started with a light tan and then went darker, ending with some bronze and gold paint to accent the design.
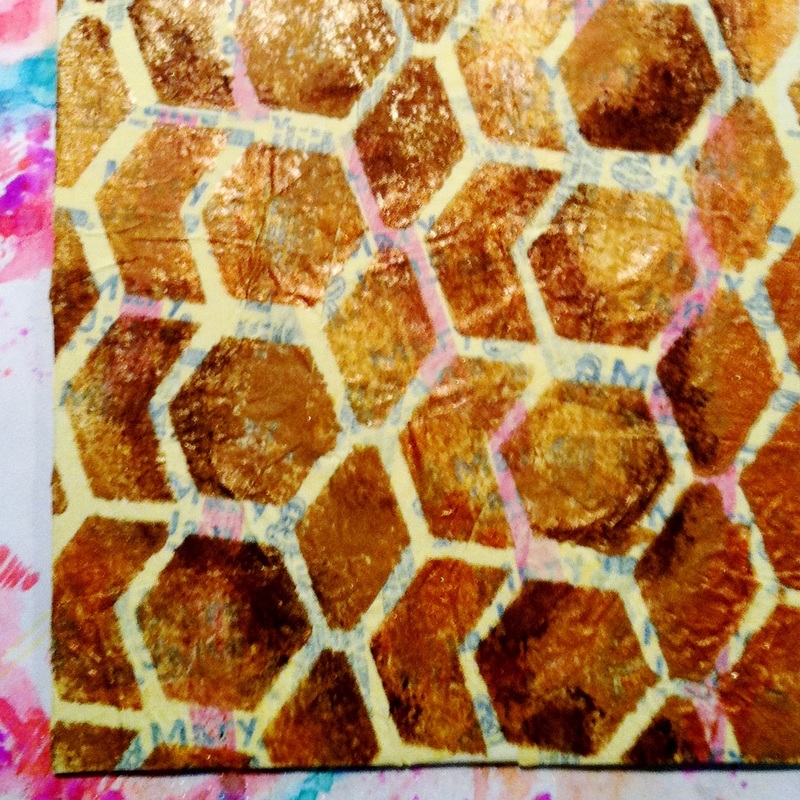
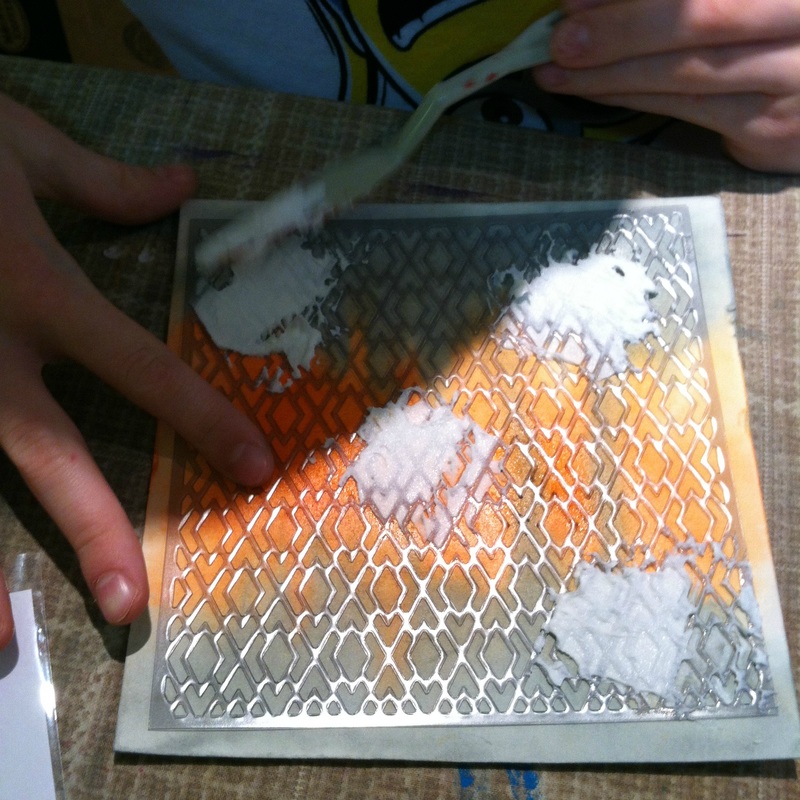
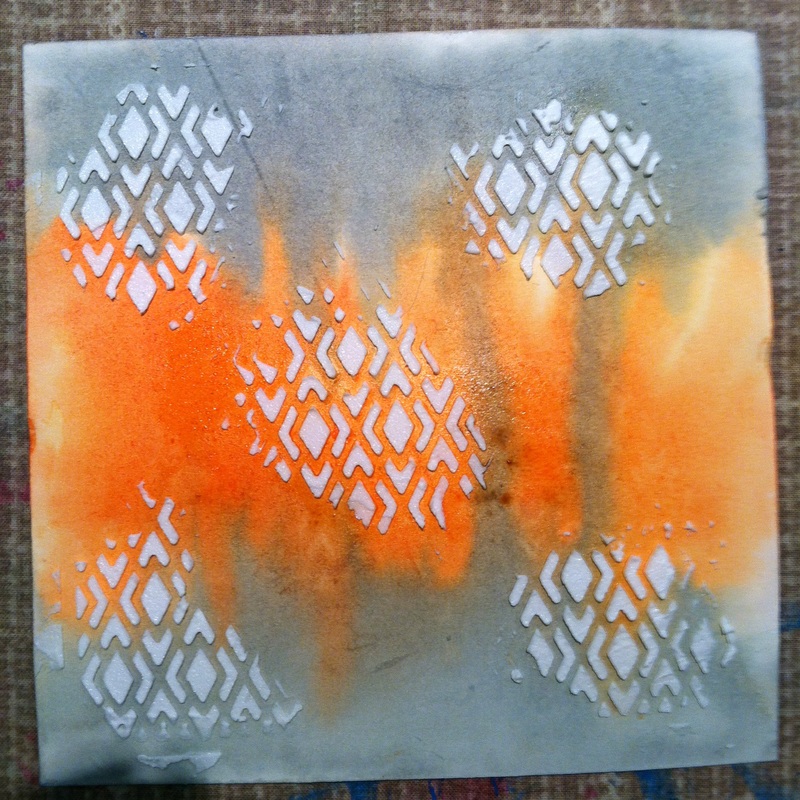
Now my favorite, Molding Paste. I mixed some with a small amount of paint to get a light tan color. Then I used a painters spatula to apply it through the stencil just in a couple corners. Haphazardly really. I didn't want it to look perfect. I like it to all look a bit free form or unplanned. I let that dry overnight and then in the morning I smudged some of the darker paint on it to show off the texture a bit.
Now my favorite, Molding Paste. I mixed some with a small amount of paint to get a light tan color. Then I used a painters spatula to apply it through the stencil just in a couple corners. Haphazardly really. I didn't want it to look perfect. I like it to all look a bit free form or unplanned. I let that dry overnight and then in the morning I smudged some of the darker paint on it to show off the texture a bit.
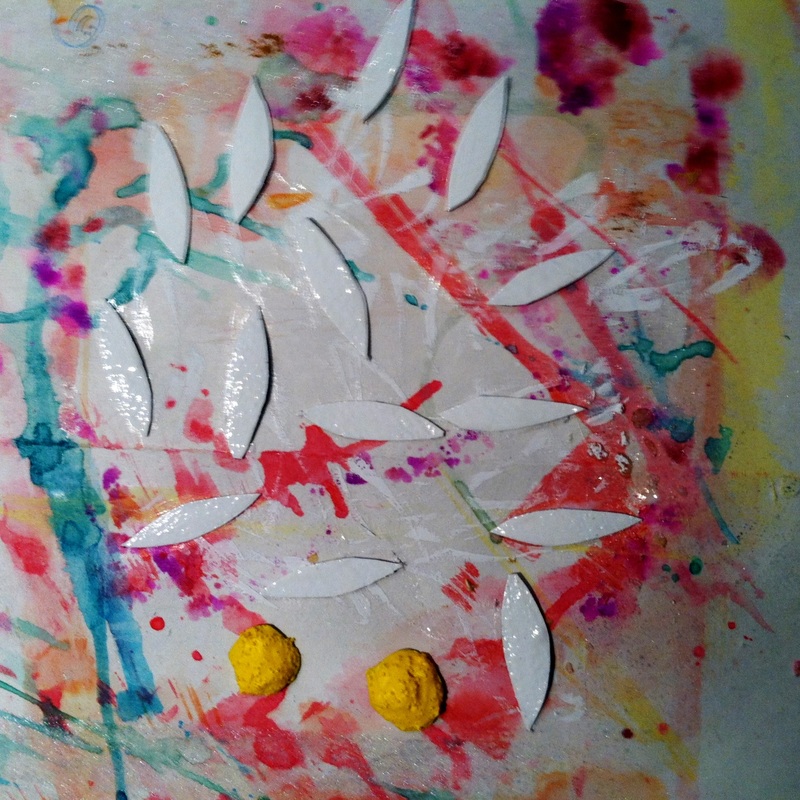
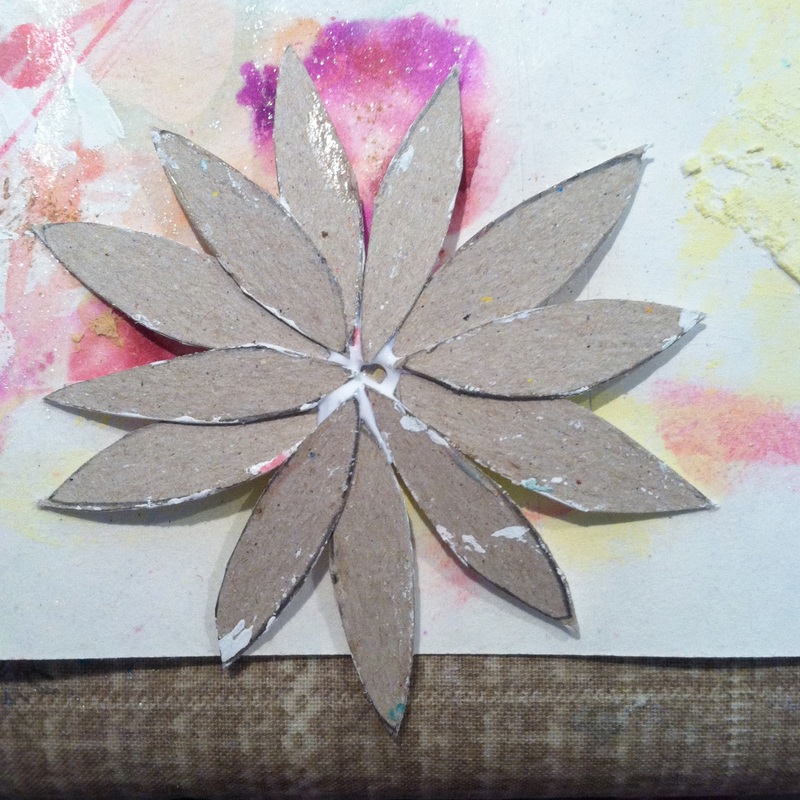
Next I got to making the flower. I decided on a daisy. It just seemed right. I cut out some petals and leaves from the chipboard and a couple of centers, just in case one didn't work I had a backup. I painted the petals with 2 coats of white acrylic craft paint. For the center I mixed up some heavy gel medium with some micro glass beads and put that on the center, building it up so it would be dimensional. After that dried I painted it with some yellow paint. When all the paint was dry I put on 2 coats of the Modge Podge. When those dried I glued the flower together with a quick dry glue.
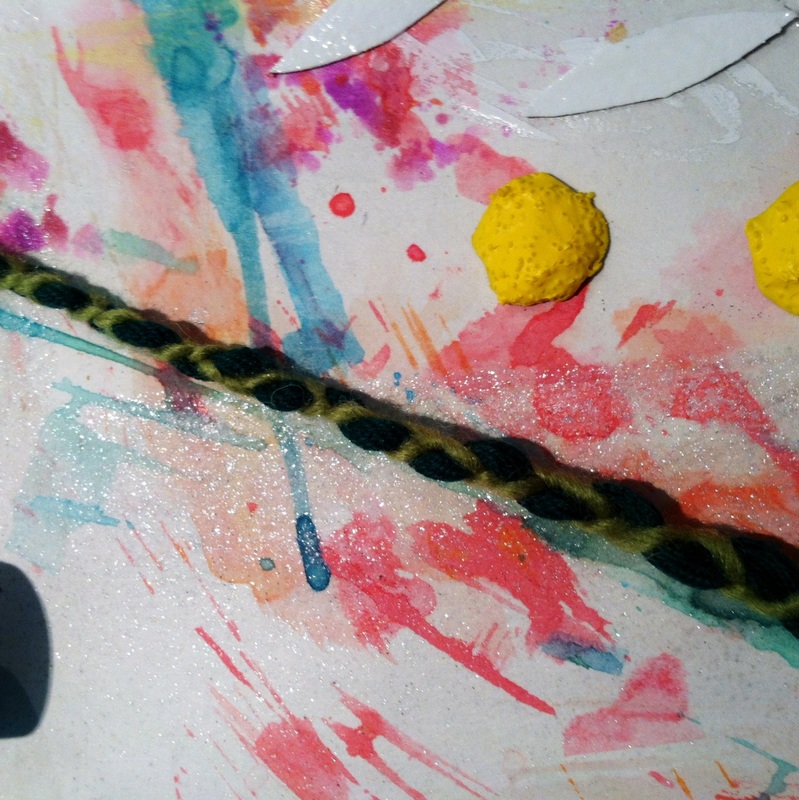
For the stem I just braided together two strands of yarn and one strand of ribbon. I braided it tight and I like the effect that it had. Before I cut it to the length I needed I used some glue on the spots where I was going to cut it and let it dry so that it wouldn't unravel when it was cut.
For the stem I just braided together two strands of yarn and one strand of ribbon. I braided it tight and I like the effect that it had. Before I cut it to the length I needed I used some glue on the spots where I was going to cut it and let it dry so that it wouldn't unravel when it was cut.
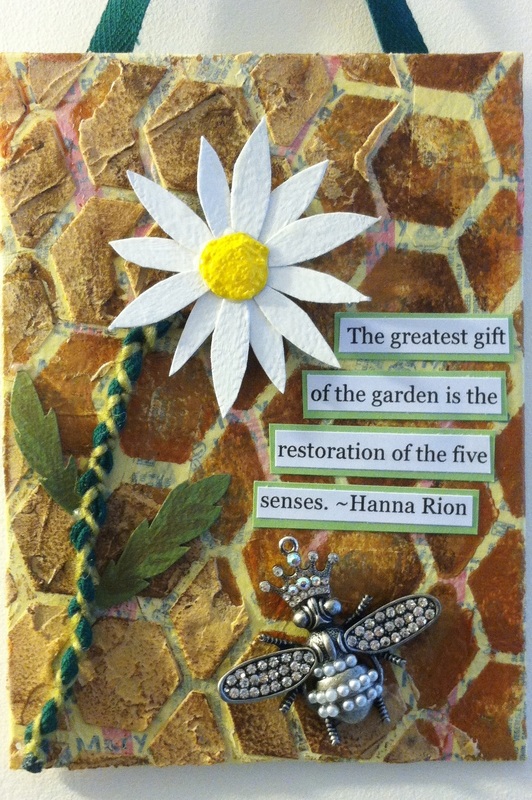
Here you can see the flower glued onto the canvas. I found a quote on
The Quote Garden .You can find quotes there for anything. I printed it out and cut it apart and glued it onto some green card stock. I glued that and the bee on. I used the quick dry glue for the quote and I used E600 glue for the bee. Last I glued on some of the same ribbon from the stem to the back to make a hanger for it.
The Quote Garden .You can find quotes there for anything. I printed it out and cut it apart and glued it onto some green card stock. I glued that and the bee on. I used the quick dry glue for the quote and I used E600 glue for the bee. Last I glued on some of the same ribbon from the stem to the back to make a hanger for it.
Here it is all done. It was so fun. I love getting my hands dirty when doing a project and this time was no exception. Hmm I wonder what I will do with the tootsie roll wrappers that I have been collecting as I've been typing this post. Maybe Ethan and I will make something together with them using a lot of color. Also when I decide what to do with the 250 plus business cards that I don't have a use for anymore I will share that with you too. So this weekend why not take something that would end up in the trash and find another use for it. Let me know what you come up with and you can email me your pictures at [email protected] . I'd love to see what you come up with.


 RSS Feed
